Guest Bath Remodel Part 3: Putting the Pieces Back Together
Watch us put the pieces of this guest bath back together.
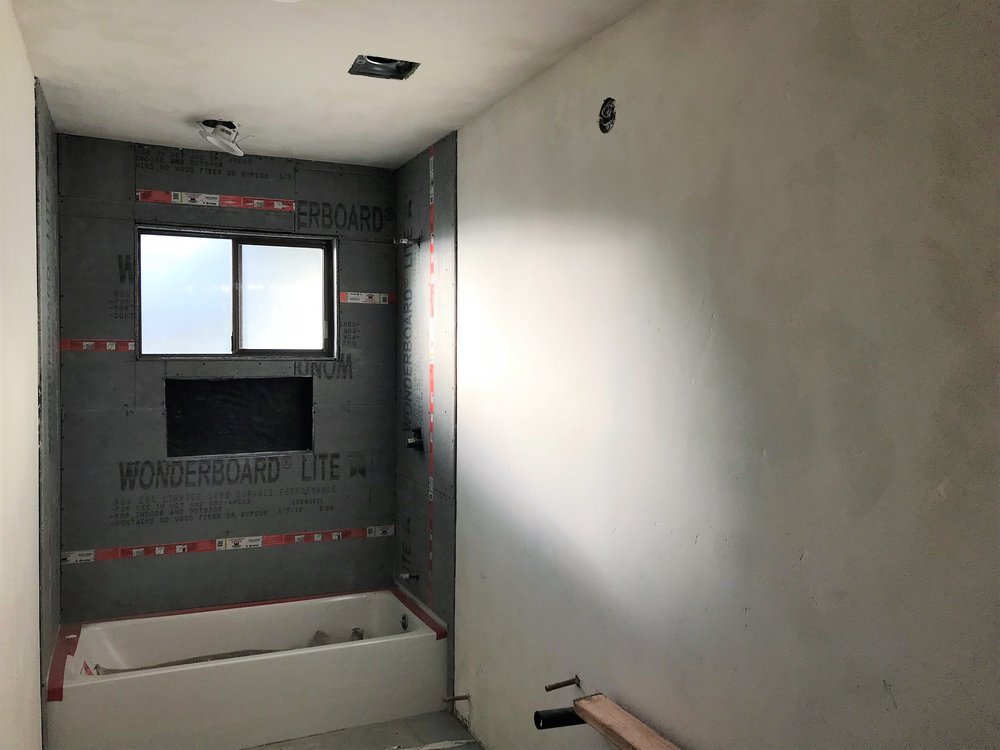
In week three of this guest bath remodel, it started feeling like a part of the house again! This pretty picture was taken at the end of the week; here's how we got there...
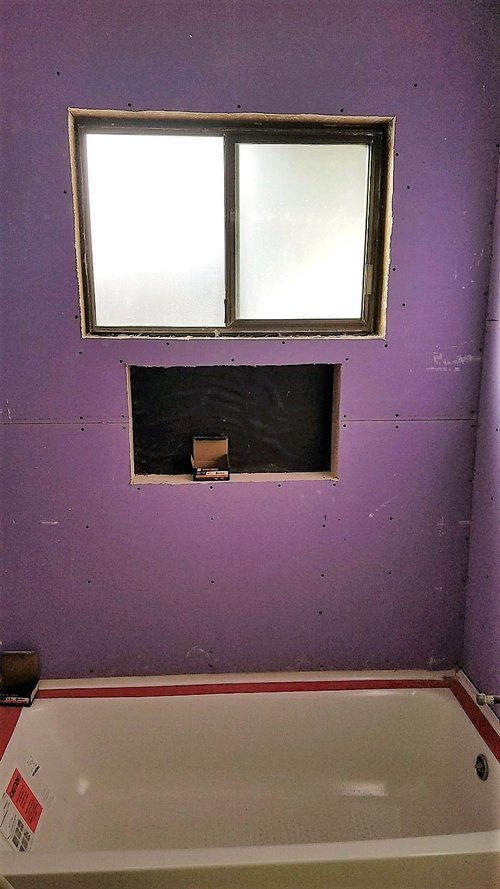
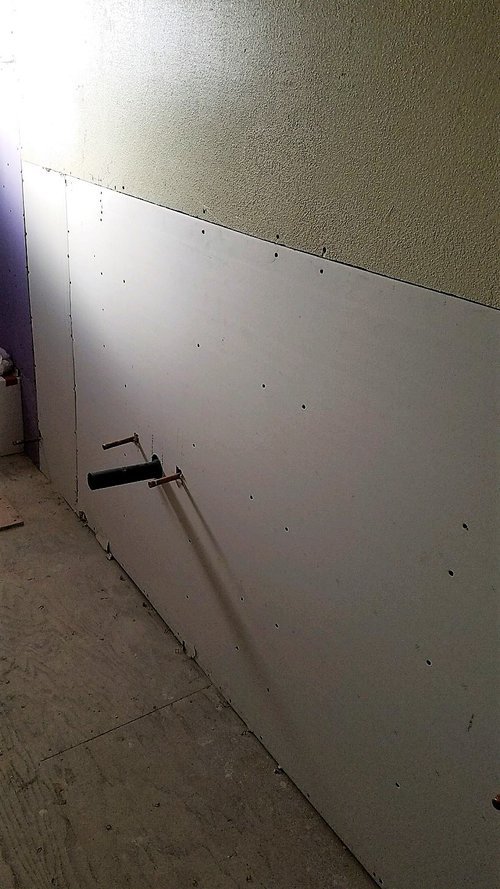
After installing the plumbing valves, electrical wire, and tub, we could 'close it all up,' a.k.a. hang the drywall. The purple drywall you see in the tub/shower is moisture-resistant sheetrock. Since the existing sheetrock on the walls and ceiling in the bathroom was still in good shape, we only replaced the sheetrock where the vanity was removed, saving the homeowners some time and money.
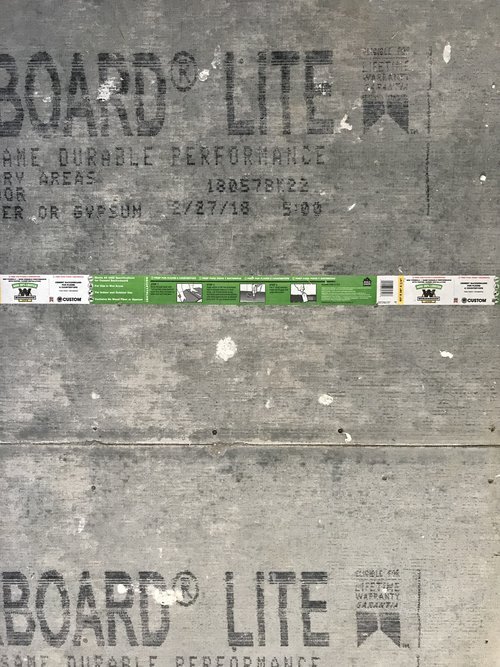
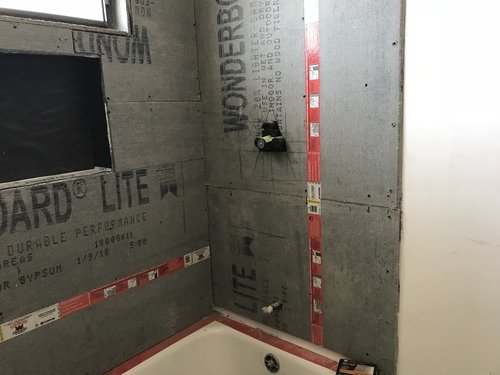

Another challenge on the job site is laying out the lighting in the ceiling. You need to have a 'Plan A' and a Next, Wonderboard Lite installed on top of the plywood subfloor and on top of the moisture-resistant drywall on the tub/shower walls. Wonderboard Lite is a fiberglass mesh reinforced cement backer board that is used when installing tile, stone, slate, or thin brick veneer. It is lightweight and has a high flexural strength. It is also moisture-resistant.
The existing and new sheetrock was textured with a light old-world texture, seamlessly blending the two surfaces. You could never tell us that we kept the existing drywall on the walls and ceiling!
Check out Part 4 for the cabinet installation.
Inspired to upgrade your own space? Let’s make your bathroom remodel dreams a reality!