Design Inspiration: Powerful Design, Simple Details

Bring power to the most unlikely of places with this design inspiration!
One of the most requested design features I’m asked to implement in a kitchen remodel is an island; this probably doesn’t come as a surprise (you may even be thinking “that’s what I want!” as you’re reading this!), and for good reason - kitchens are the hub of the home and where we do the majority of our entertaining and gathering. There are certainly no shortages of creative concepts one can dream up for their island (tons of storage, open counter space, waterfall edges, open shelving, etc.), but I’m sure your wish list doesn’t include exposed outlets at code required locations… though power is nice, it’s not usually the ‘prettiest’ part of your new island! So, what is one to do when we need convenient, accessible power for cooking but we want a statement-making design feature of an island? Oh, I’m so glad you asked…
If you have a sink in your island, you’ll most likely need an outlet within 2’-0” (please verify with a local design professional to make sure you adhere to building codes in your area). Let’s say you have a nice long island and your sink is centered in the island - well, having an outlet on the end/side of your island might be nice (and also code required), but it won’t be within two feet - you can opt for a pop up outlet! These work nicely if you intend to have waterfall edges as well!


Now, since the island will be where you cook, entertain, work, etc., you may need more than one standard outlet, right? What if we just tuck an outlet strip right up underneath the overhang? That’s what I call power!
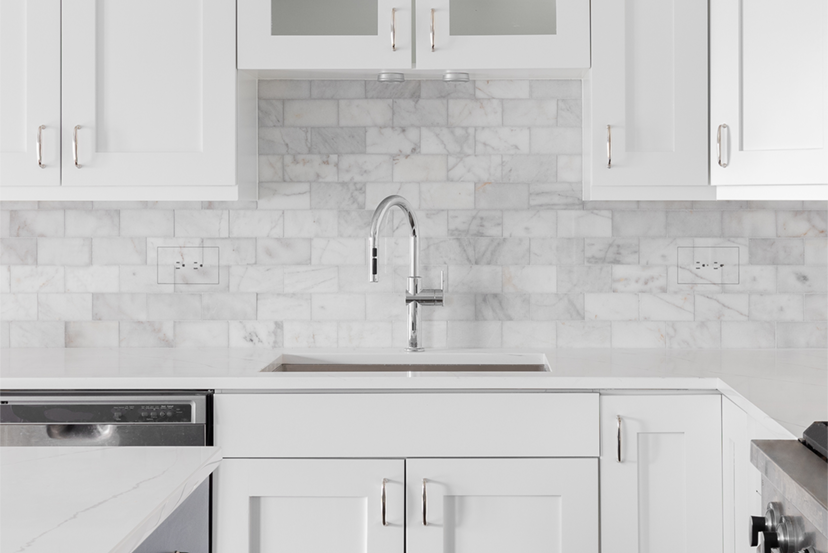
This is the same outlet strip we use on the underside of wall cabinets to avoid outlets in backsplashes!
Lastly, a new product I learned about at KBIS (Kitchen and Bath Industry Show) earlier this year are Hide-A-Trim™ Paintable Flush-Mounted Kits that are custom painted to match the material they’re installed in; pretty sweet, right?!
In an era where aesthetics and functionality go hand in hand, this product brings a unique solution that combines both. Here’s how it works: You purchase the flush mount outlet or switch kit and have the electrician install the switch or outlet kit during ‘rough-in’ (after demo, when the wire gets installed). Next, mail your material (wood, tile, or slab) cut out by your fabricator/installer along with a photo of the installed outlet(s) and the cover plate from the kit back to Hide-A-Trim™. Within a couple of weeks, Hide-A-Trim™ will send you back your custom-painted outlet cover plate to be installed on the outlet!

How’s that for a seamless look? As my son would say “they’re playing peekie-boo!” Hide-a-Trim™ makes flush mounted outlet and switch kits and the cover plates can be painted to match your sheetrock/walls, cabinetry, stone, and tile!

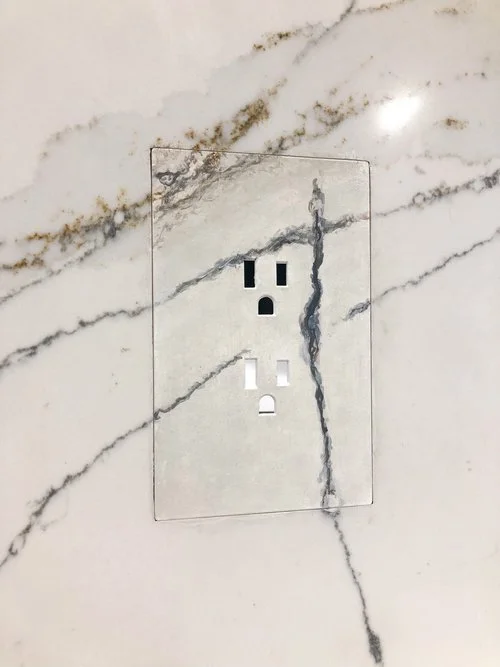


The best part? When you’re working with your designer, we make these decisions before construction starts, and we incorporate the product selections/specifications into the plans. Hide-a-Trim™ outlets and switches need to be selected before the rough electrical work is underway because they are recessed into the material they’re installed in - notice the face plates don’t sit ‘on top’ of the material like the standard outlet cover plates - details like these custom-painted features or special hidden electrical outlets are thoughtfully selected ahead of time - so when the work is done, your new outlets, switches, hidden electrical strips, etc. are installed and ready for you to enjoy.
What option would you pick for your home? Tell me in the comments below!
Want to upgrade your space with amazing features like these? Contact me today.