Guest Bath Remodel Part 6: Finishing Touches

It’s time for the finishing touches on our guest bath remodel!
It's looking like a bathroom again! The countertop slab arrived and was installed on the vanity, and then the beautiful tile backsplash was installed!
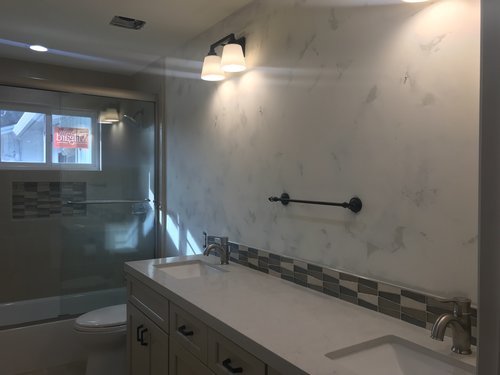
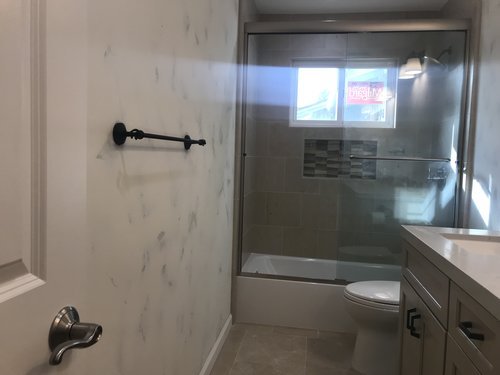


Once the lighting was installed, it appeared that the Light Old World Texture we had selected didn't seem very consistent, so the drywall crew returned to re-texture the walls for a more consistent look. After approving the texture, the light fixtures and towel bars were removed, the walls and ceiling were re-painted, and the plumbing fixtures and shower doors were installed!
Now, as much as we would have loved for all of this work to have been done in one week, that was not the case. Bathrooms are smaller spaces, and it's very challenging, if not impossible (depending on the work), to have multiple trades in the space working at once. Each specialty trade needs to have a clean, dust-free (and obstruction-free) workspace to minimize errors and inconsistencies. The re-texturing and re-painting took place over a couple of weeks, the shower door installation was completed after a couple of days, the plumbing fixtures were installed in a day, and the cabinet hardware, light fixtures, mirrors, and towel bars were installed the following week.
Don't let my post deceive you; these photos cover a good three weeks worth of work!

The result... a Warm & Welcoming Guest Bath! For more photos of this beautiful bath, click here!
Want to start your own bath remodel? I’ve got you covered - let’s talk about your dream project today.